Step by Step Roof Repair: Fix Leaks Safely and Effectively
Missing shingles and water stains become unsettling reminders after a rainy Vancouver night when your roof starts feeling its age. For homeowners in Vancouver and Surrey, knowing how to assess and fix roof damage means saving money and avoiding surprise leaks. This step-by-step guide helps you identify real hazards, gather the right tools, and handle repairs safely—while highlighting the importance of hazard identification and careful preparation.
Table of Contents
- Step 1: Assess Roof Damage and Identify Problem Areas
- Step 2: Gather Tools and Prepare the Repair Site
- Step 3: Remove Damaged Shingles or Materials
- Step 4: Install New Roofing Components Securely
- Step 5: Inspect Work and Test for Proper Sealing
Quick Summary
| Key Insight | Explanation |
|---|---|
| 1. Thoroughly assess your roof’s condition | Check for visible damage like curling shingles and water stains to understand the necessary repairs. |
| 2. Document problem areas carefully | Take clear photos and notes of damage locations to help guide your repair efforts or professional consultations. |
| 3. Gather necessary tools and safety gear | Prepare tools like hammers and caulking guns, along with safety equipment, to improve your repair efficiency and safety. |
| 4. Install new materials according to guidelines | Follow manufacturer specifications for nail placement and sealing to ensure lasting repairs and prevent leaks. |
| 5. Inspect and test repairs post-installation | Conduct a thorough inspection and, if possible, test for leaks to confirm the integrity of your repair before heavy rain. |
Step 1: Assess Roof Damage and Identify Problem Areas
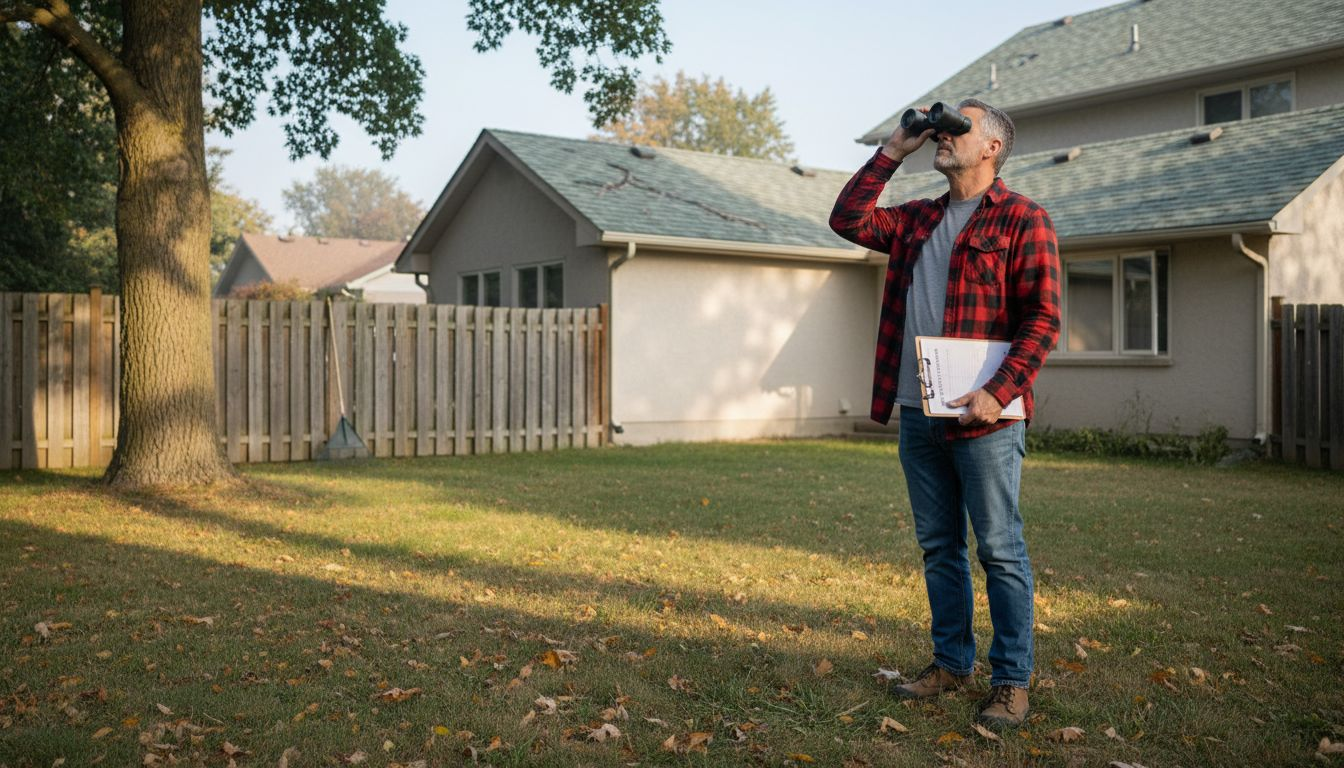
Before you grab your tools, you need to understand exactly what you’re dealing with. A thorough assessment tells you whether a repair is DIY-friendly or whether you need professional help. This step separates a successful fix from costly mistakes.
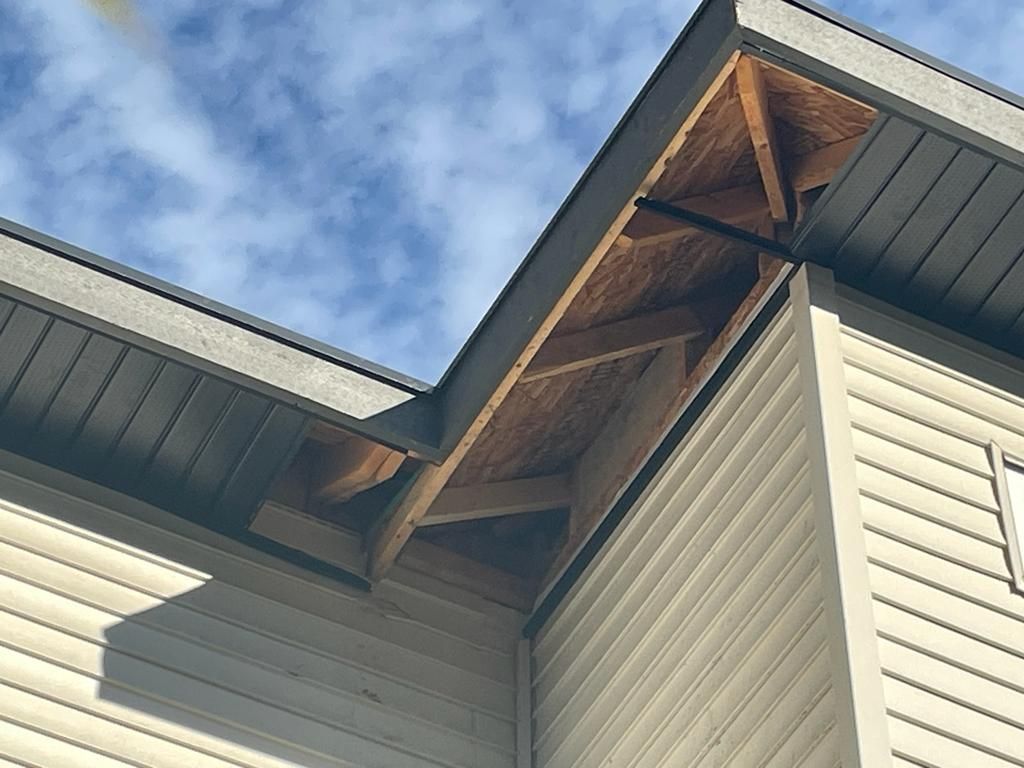
Start by getting a clear view of your roof from the ground. Look at the overall condition of your shingles or metal panels. Are they curling, buckling, or missing entirely? In our Vancouver climate with heavy rainfall and freeze–thaw cycles, water can find the tiniest openings. Pay attention to discolouration, dark streaks, or patches that look wet or damaged.
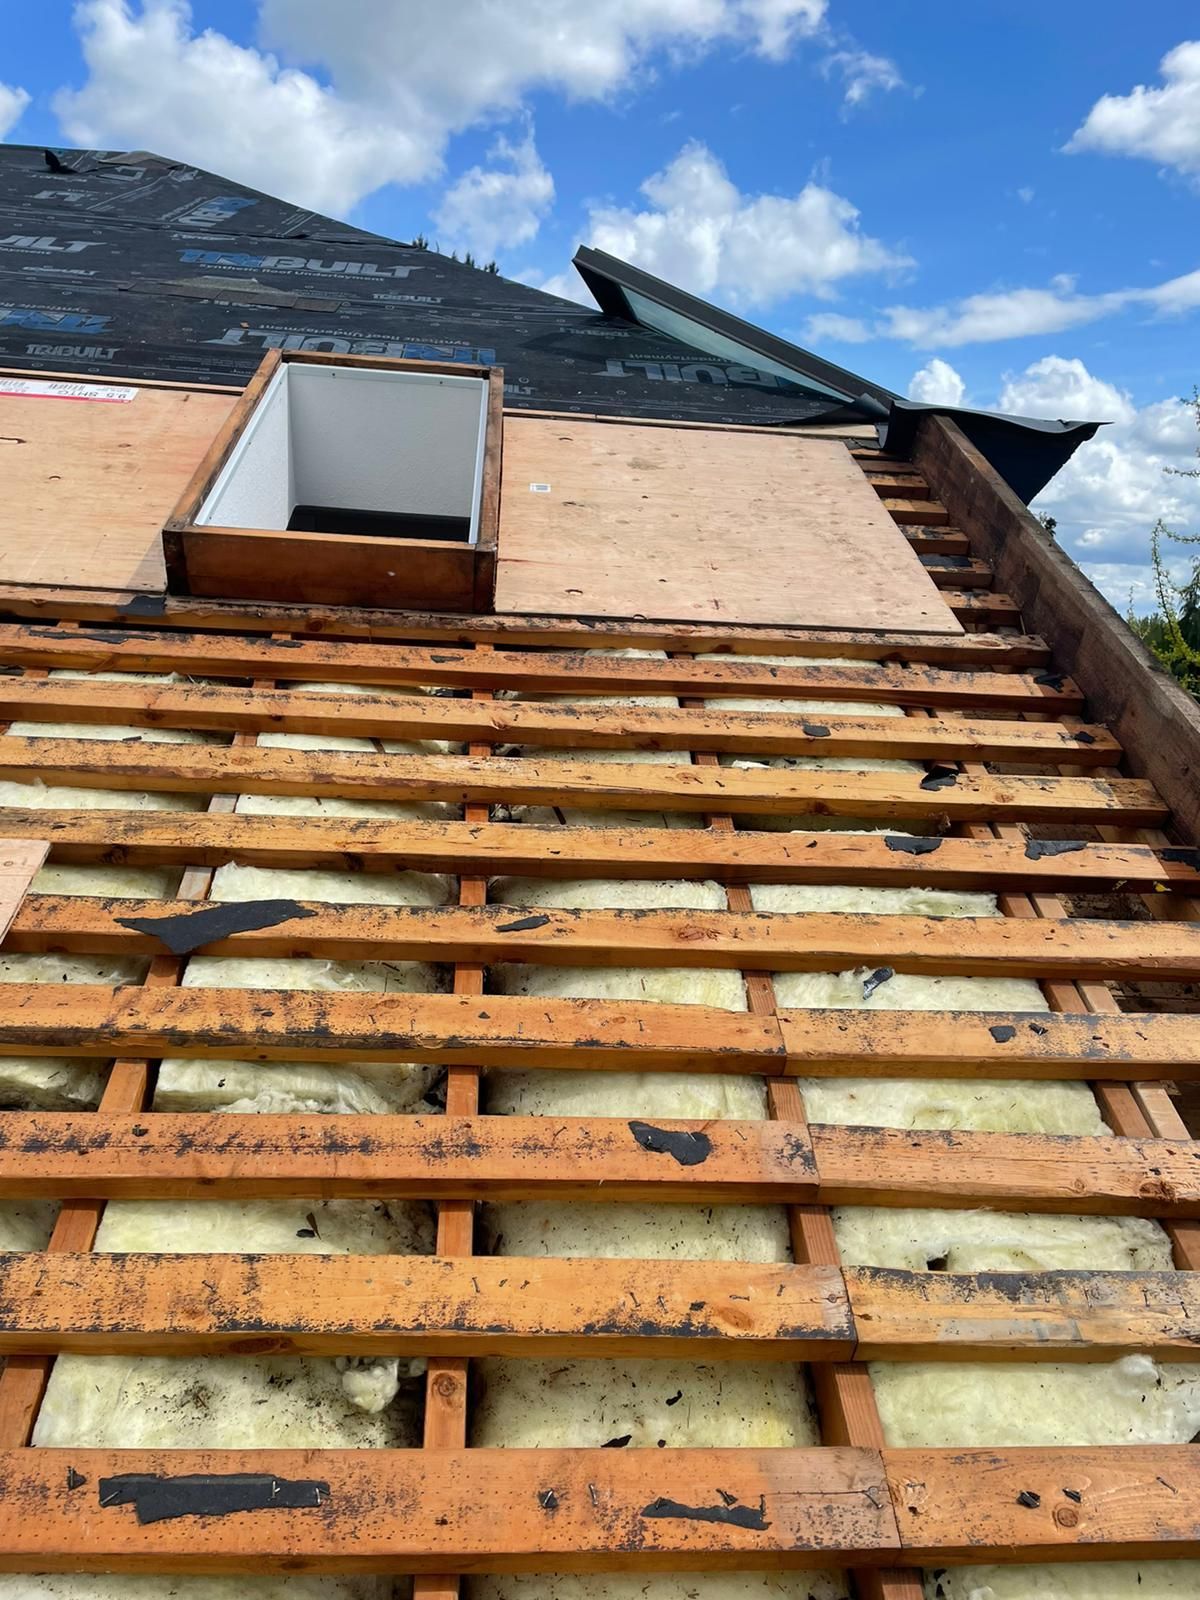
Next, move inside and check your attic or crawlspace. This is where the real story reveals itself. Look for water stains on the underside of the roof decking or insulation. A wet spot near a vent, in a corner, or along an interior wall often points directly to where water is entering. Even if your shingles look rough, the wood sheathing underneath might still be in reasonable shape—or it might be compromised. Checking what’s underneath prevents surprises later.
When you spot problem areas, document them clearly. Take photos of visible damage, water stains, and any areas where shingles are missing or damaged. Note the location relative to chimneys, vents, valleys, or skylights. These roof penetrations are common trouble spots where leaks start.
Your assessment should focus on three key hazard areas:
- Water infiltration signs: Stains, moisture, soft spots, or visible mould
- Structural concerns: Sagging, warped boards, or weakened areas that might not support your weight safely
- Material deterioration: Cracked, curled, or deteriorated shingles, flashing that’s lifted or corroded, or sealant that’s dried out
Understanding hazard identification helps you prioritise which problems need immediate attention and which can wait. Safety matters—never climb onto a compromised roof.
If you find extensive damage, rotted wood, or structural concerns, stop here and call a professional. Paragon Roofing BC offers free inspections to assess your roof properly and recommend the right solution for your property.
Here’s a summary comparing when roof repairs can be safely attempted as DIY projects versus when you should involve a professional:
| Assessment Finding | DIY Repair Appropriate | Professional Required |
|---|---|---|
| Minor surface shingle damage | Safe for DIY with precautions | Recommended for widespread damage |
| Small water stains only | Likely manageable DIY | If stains are spreading quickly |
| Flashing issues near vents | Experienced DIYer possible | Extensive or complicated details |
| Rotted or soft deck areas | Not advised | Must fix structural integrity |
| Multiple missing shingles | Possibly DIY if limited | If span is large or recurring |
The condition of your roof’s substrate matters as much as the surface—what you can’t see often determines whether a repair will hold.
Pro tip: Inspect your roof after heavy rain or during winter when water damage becomes visible. Clear your gutters beforehand so water flows away naturally—this reveals true leaks versus drainage backup issues.
Step 2: Gather Tools and Prepare the Repair Site
Gathering your tools before you climb onto your roof saves time and keeps you safe. You won’t be scrambling down the ladder every five minutes to fetch something you forgot. A well-prepared site means a faster, cleaner repair.
Start by listing everything you’ll need. Basic roof repairs typically require a hammer, pry bar, utility knife, caulking gun, roofing nails, and patching materials like roofing cement or shingles. If you’re replacing shingles, grab a roofing nail gun or hammer and a measuring tape. Lay all your tools and materials on a ground tarp before climbing up—this keeps them organized and prevents losing items on your roof.
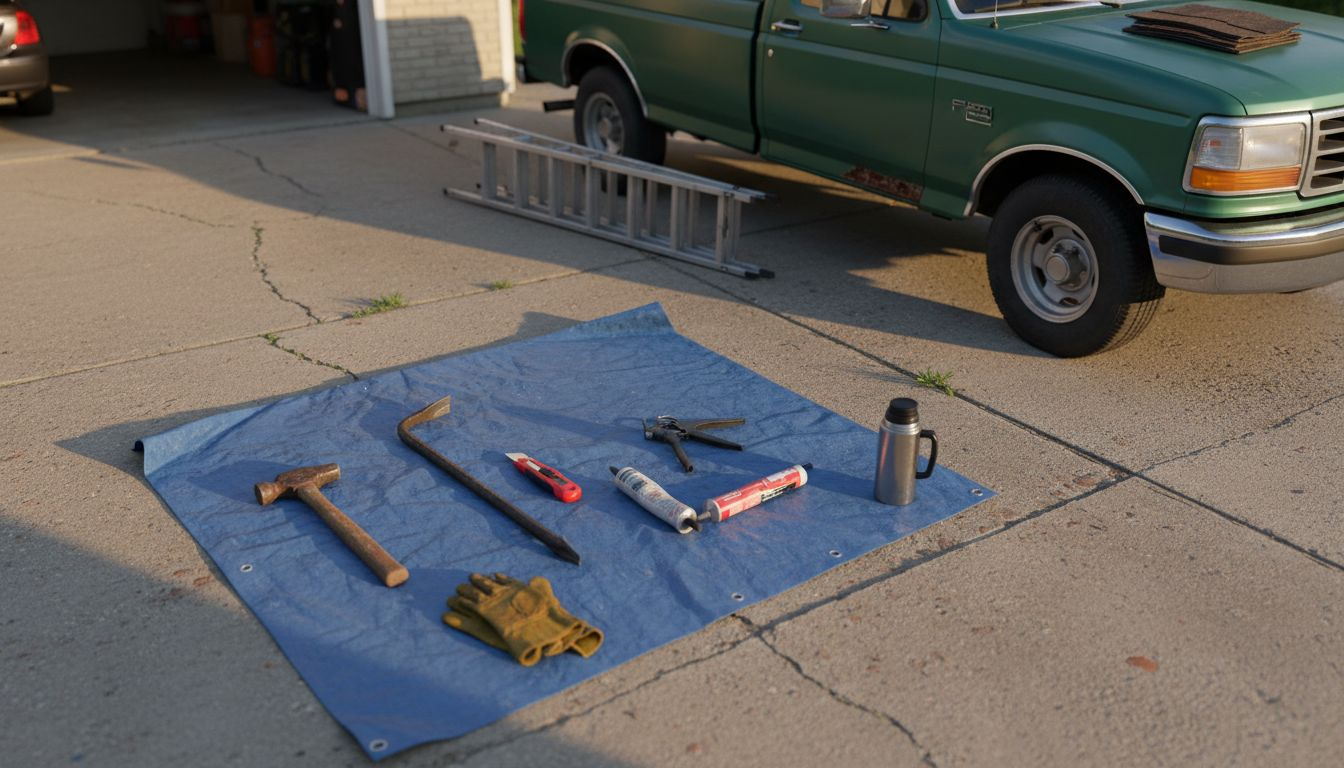
Next, address safety equipment. This is not negotiable. You need a sturdy ladder in good condition, work gloves, and safety glasses. For steeper roofs or if you’re uncomfortable with heights, fall arrest harness equipment provides critical protection. A temporary roof anchor gives you a secure connection point. Wear non-slip footwear and avoid loose clothing that could catch on debris.
Check the weather before you start. Heavy rain is coming in Vancouver—you want a dry window of at least a few hours. Wet roofs are slippery and dangerous. Clear gutters and downspouts so water drains away properly during your work.
Prepare your work area by removing debris from the section you’ll be repairing. Clear leaves, branches, and loose material. This prevents debris from sliding onto you and gives you a clean surface to work on. If you’re removing old shingles, have a disposal bin or heavy-duty bag ready.
Your preparation checklist includes:
- Safety gear: Helmet, gloves, glasses, non-slip shoes, harness if needed
- Repair tools: Hammer, pry bar, utility knife, caulking gun, nail gun
- Materials: Roofing cement, nails, shingles, flashing, sealant
- Access equipment: Sturdy ladder, roof brackets or anchors
- Cleanup supplies: Tarps, disposal bags, broom
Proper preparation prevents injuries and keeps your repair on track. Take the extra 15 minutes now rather than rush and make mistakes.
A prepared site is a safe site—rushing this step creates accidents and poor repairs.
Pro tip: Lay out tools on a ground tarp in the order you’ll use them, then take a photo with your phone so you remember where everything is when you’re on the roof.
Step 3: Remove Damaged Shingles or Materials
Removing old, damaged shingles is the foundation of your repair. You cannot install new material over compromised shingles—the repair won’t hold and water will still find its way in. This step requires patience and careful technique.
Start at the top of your roof and work downward. Gravity is your friend here. Working from the ridge line downward reduces the risk of slipping on loose granules and gives you better footing and ergonomics. Use a garden shovel or pry bar to carefully lift and remove shingles, working out the roofing nails as you go. Do not rush this step—shingles are nailed and sometimes glued, and forcing them can damage the underlying deck.
If you’re dealing with multiple layers of old shingles, expect extra effort. Some Vancouver homes have decades of layering underneath. Work methodically through each layer rather than trying to tear everything off at once. As you strip away shingles, inspect the roof deck carefully for rot, soft spots, or water damage. This is critical—if the wood sheathing is compromised, it must be repaired before you install new shingles.
Collect all nails and debris as you remove shingles. Loose nails on your roof are hazards for you and your feet. A magnetic broom or tray helps catch small nails. Dispose of old shingles properly in your waste bin or bag.
Once shingles are removed, examine the exposed deck closely:
- Soft or spongy spots indicate water damage or rot that needs replacement
- Nails left behind should be removed or flattened so they do not interfere with new shingles
- Flashing condition becomes visible now—check if it needs repair or replacement
- Underlayment condition may show water stains or deterioration that requires attention
If you find extensive rot or structural damage, stop and consult a professional. Small areas can sometimes be patched, but large compromised sections require proper repair before new shingles go down.
Never skip the deck inspection—what you find here determines whether your repair will succeed or fail.
Pro tip: Wear a dust mask during removal; old shingle granules and debris become airborne and irritate your respiratory system.
Step 4: Install New Roofing Components Securely
Installing new shingles or roofing materials correctly is where your repair becomes permanent. Poor installation techniques lead to leaks returning within months. This step demands precision and attention to manufacturer specifications.
Start by laying out your new shingles or roofing materials. Read the manufacturer guidelines carefully—they specify nail placement, overlap amounts, and sealing requirements. Different products have different needs. Asphalt shingles typically require nails placed in specific locations, while metal roofing or other systems may have different fastening requirements. Always follow the instructions that come with your materials.
Begin installing at the lower edge of your repair area and work upward. Overlap each new shingle or panel according to manufacturer specs. This overlap channels water downward and prevents infiltration. Use the correct fastener type and length—roofing nails should penetrate the deck properly without over-driving them. Over-driven nails can tear shingles and create leak points. Proper roof fastener selection ensures your repair holds under Vancouver’s wind and weather conditions.
Once shingles are in place, seal seams and any exposed nail heads with roofing cement or sealant. This waterproofing layer is critical in our rainy climate. Apply sealant to the underside of shingle tabs and around any flashing edges where water could penetrate.
Your installation checklist includes:
- Correct fasteners for your material type and deck condition
- Proper overlap per manufacturer guidelines to ensure water drainage
- Adequate sealing at seams, penetrations, and nail heads
- Flashing installation around vents, chimneys, and valleys
- Ventilation preservation so air can flow properly under the roofing system
If you’re working on a complex repair with multiple penetrations or valleys, take extra time. Mistakes at these points cause leaks. When installing new roofing components , following manufacturer specifications and industry best practices ensures your repair lasts years rather than months.
If your repair is extensive or involves complex flashing work, this is the point where bringing in a certified professional makes sense. Paragon Roofing BC can complete installation to warranty standards.
Your fastening and sealing work now determines whether water stays out or finds its way back in.
Pro tip: Install shingles on dry days when temperatures are above 10°C—cold shingles are brittle and crack easily, and wet conditions prevent proper sealing.
Step 5: Inspect Work and Test for Proper Sealing
You’ve done the installation work, but now comes the critical verification step. A repair that looks good on the surface might still leak if sealing is incomplete or fasteners aren’t properly seated. Testing catches these problems before rain does.
Start by visually inspecting every seam, joint, and fastener you’ve installed. Look for gaps, lifted edges, or incomplete sealant coverage. All fastener heads should be flush with the shingle surface, not protruding. Run your hand gently over the repair area—you should feel smooth transitions with no raised edges or loose material.
Next, inspect the sealant you applied. Quality roof sealants designed for your specific material need complete coverage at all seams and penetrations. Look along flashing edges, around vent boots, and where new shingles overlap existing ones. Sealant should fill any gaps completely with no thin spots or voids.
Check flashing around chimneys, vents, and skylights carefully. These are where most leaks occur. Flashing should lie flat against the roof and shingles without lifting. All seams in the flashing should be sealed. If you spot any gaps or loose flashing, apply additional sealant now.
Perform a water test if conditions allow. Use a garden hose to spray water over your repair area. Watch from inside the attic or crawlspace to see if any water penetrates. Start with a light spray and gradually increase. If water leaks through, stop immediately and identify the leak source. It’s easier to fix now than after heavy rain.
Document your inspection with photographs:
- Overall repair view showing the complete work area
- Close-ups of seams, fasteners, and sealant coverage
- Flashing details around penetrations
- Any problem areas that need additional work
If your inspection reveals gaps, missing sealant, or loose components, address them now. Once you’re satisfied with the seal, your repair is ready to weather Vancouver’s rain.
For quick reference, here is a table of common errors and their consequences in roof repair:
| Error Type | Example Mistake | Long-Term Consequence |
|---|---|---|
| Skipping deck inspection | Not checking for soft spots | Hidden leaks, premature failure |
| Wrong fasteners used | Using drywall nails on shingles | Blown-off shingles in high winds |
| Incomplete sealing | Gaps at flashing or nail heads | Persistent leaks or mould growth |
| Poor weather timing | Repairs during rain or freezing | Unsafe work, poor adhesion |
A thorough inspection now prevents emergency repairs later.
Pro tip: Inspect your repair after the first heavy rain and photograph any new stains or wet spots—early detection lets you fix small issues before they become major problems.
Ensure Your Roof Repair Lasts with Expert Support from Paragon Roofing BC
Dealing with roof leaks and damaged shingles can feel overwhelming. The article highlights common challenges like identifying water infiltration, checking roof deck integrity, and properly sealing new roofing materials. These steps are crucial yet can be tricky without expert experience, especially when hidden rot or flashing issues threaten your home’s protection. Avoid costly mistakes by trusting professionals who understand Vancouver’s unique weather and roofing demands.
Take the first step toward a secure, leak-free roof today by scheduling a free inspection with Paragon Roofing BC. Our team specialises in precise damage assessments, expert repairs, and quality installations across residential and commercial properties. Learn more about how we ensure every fastener, shingle, and sealant is installed to industry standards by visiting our roof installation and repair services. Don’t wait for small leaks to become costly damage. Contact us now and protect your home with reliable, professional roofing solutions at Paragon Roofing BC.
Frequently Asked Questions
What are the first steps in assessing roof damage?
To assess roof damage, start by inspecting your roof from the ground for missing or damaged shingles. Then, check the attic or crawlspace for water stains and soft spots to identify the areas needing repair.
How can I safely gather tools for roof repair?
Gather all necessary tools and materials before climbing onto your roof to avoid unnecessary trips down the ladder. Use a tarp to organize your items and ensure you have safety gear, such as gloves and a sturdy ladder, prepared for safe access.
What should I do if I find rotted wood while removing old shingles?
If you discover rotted wood when removing old shingles, stop and assess the extent of the damage. It is essential to replace the compromised sections of wood before installing new roofing materials to ensure a lasting repair.
How can I ensure my new roofing materials are installed correctly?
To ensure proper installation of new roofing materials, carefully follow the manufacturer’s guidelines for fastening and sealing. Begin at the lower edge and work upward, ensuring every layer overlaps correctly and is adequately sealed to prevent leaks.
What steps can I take to test for proper sealing after repair?
After completing the installation, visually inspect all seams and seals for gaps or raised edges. Perform a water test by spraying the repair area with a garden hose, checking for leaks inside the attic or crawlspace.
When should I consider hiring a professional for roof repairs?
Consider hiring a professional if your roof shows extensive damage or if you encounter structural concerns while inspecting the deck. A qualified roofing contractor can ensure that repairs are completed to industry standards, safeguarding your home effectively.