Expert Tips for Low-Slope Roofs in Metro Vancouver
Ready to transform your low-slope roof into a long-lasting, leak-proof fortress?
What Are Low-Slope Roofs, and Why Do They Matter in the Lower Mainland?
Ever glanced at a house where the roof barely rises, almost as if someone just flattened it on top? That’s a low-slope design. Technically, low-slope roofs have a pitch anywhere from about 1/4-inch rise per foot to 3:12. It doesn’t sound like much, but that small gradient can make a big difference—especially in a region where the clouds have a habit of drenching everything at a moment’s notice. In Vancouver, Surrey, Delta, and the broader Lower Mainland, these gentle roof lines appear on contemporary builds, second-story additions, and even older homes that were ahead of their time.
Why does slope matter so much? Because gravity can be your best friend, or it can abandon you. Steep roofs rely on gravity to whisk water and debris off in a hurry. Low-slope roofs, by contrast, have less help from gravity and more opportunity for water to pool. That’s not necessarily bad—just means you need the right approach. Get it right, and you can harness sleek modern aesthetics and perhaps even create additional outdoor spaces. Overlook the details, though, and you’re looking at potential leaks, damp insulation, and costly repairs.
Which Roofing Materials Work Best for Shallow-Pitch Applications?
If you think any old product will do, think again. Prolonged contact with water can reveal flaws pretty quickly, so you need materials meant for slower runoff and higher moisture exposure. Here’s a rundown of popular options:
Modified Bitumen
Comes in rolls and can be adhered using heat ( torch-applied), cold adhesives, or peel-and-stick systems. Great durability and relatively straightforward to patch if needed.
Single-Ply Membranes (TPO, EPDM, PVC)
Large, flexible sheets reduce the number of seams. Fewer seams mean fewer weak spots. EPDM (a rubber membrane) handles temperature swings well. TPO and PVC often reflect sunlight, which might keep your home a bit cooler under the summer sun.
Built-Up Roofing (BUR)
Traditional “tar and gravel.” Layer upon layer of reinforcing sheets and hot asphalt, often topped with gravel. Tough and time-tested, though heavier than other options. Commercial buildings love it, but some homeowners shy away from the industrial vibe.
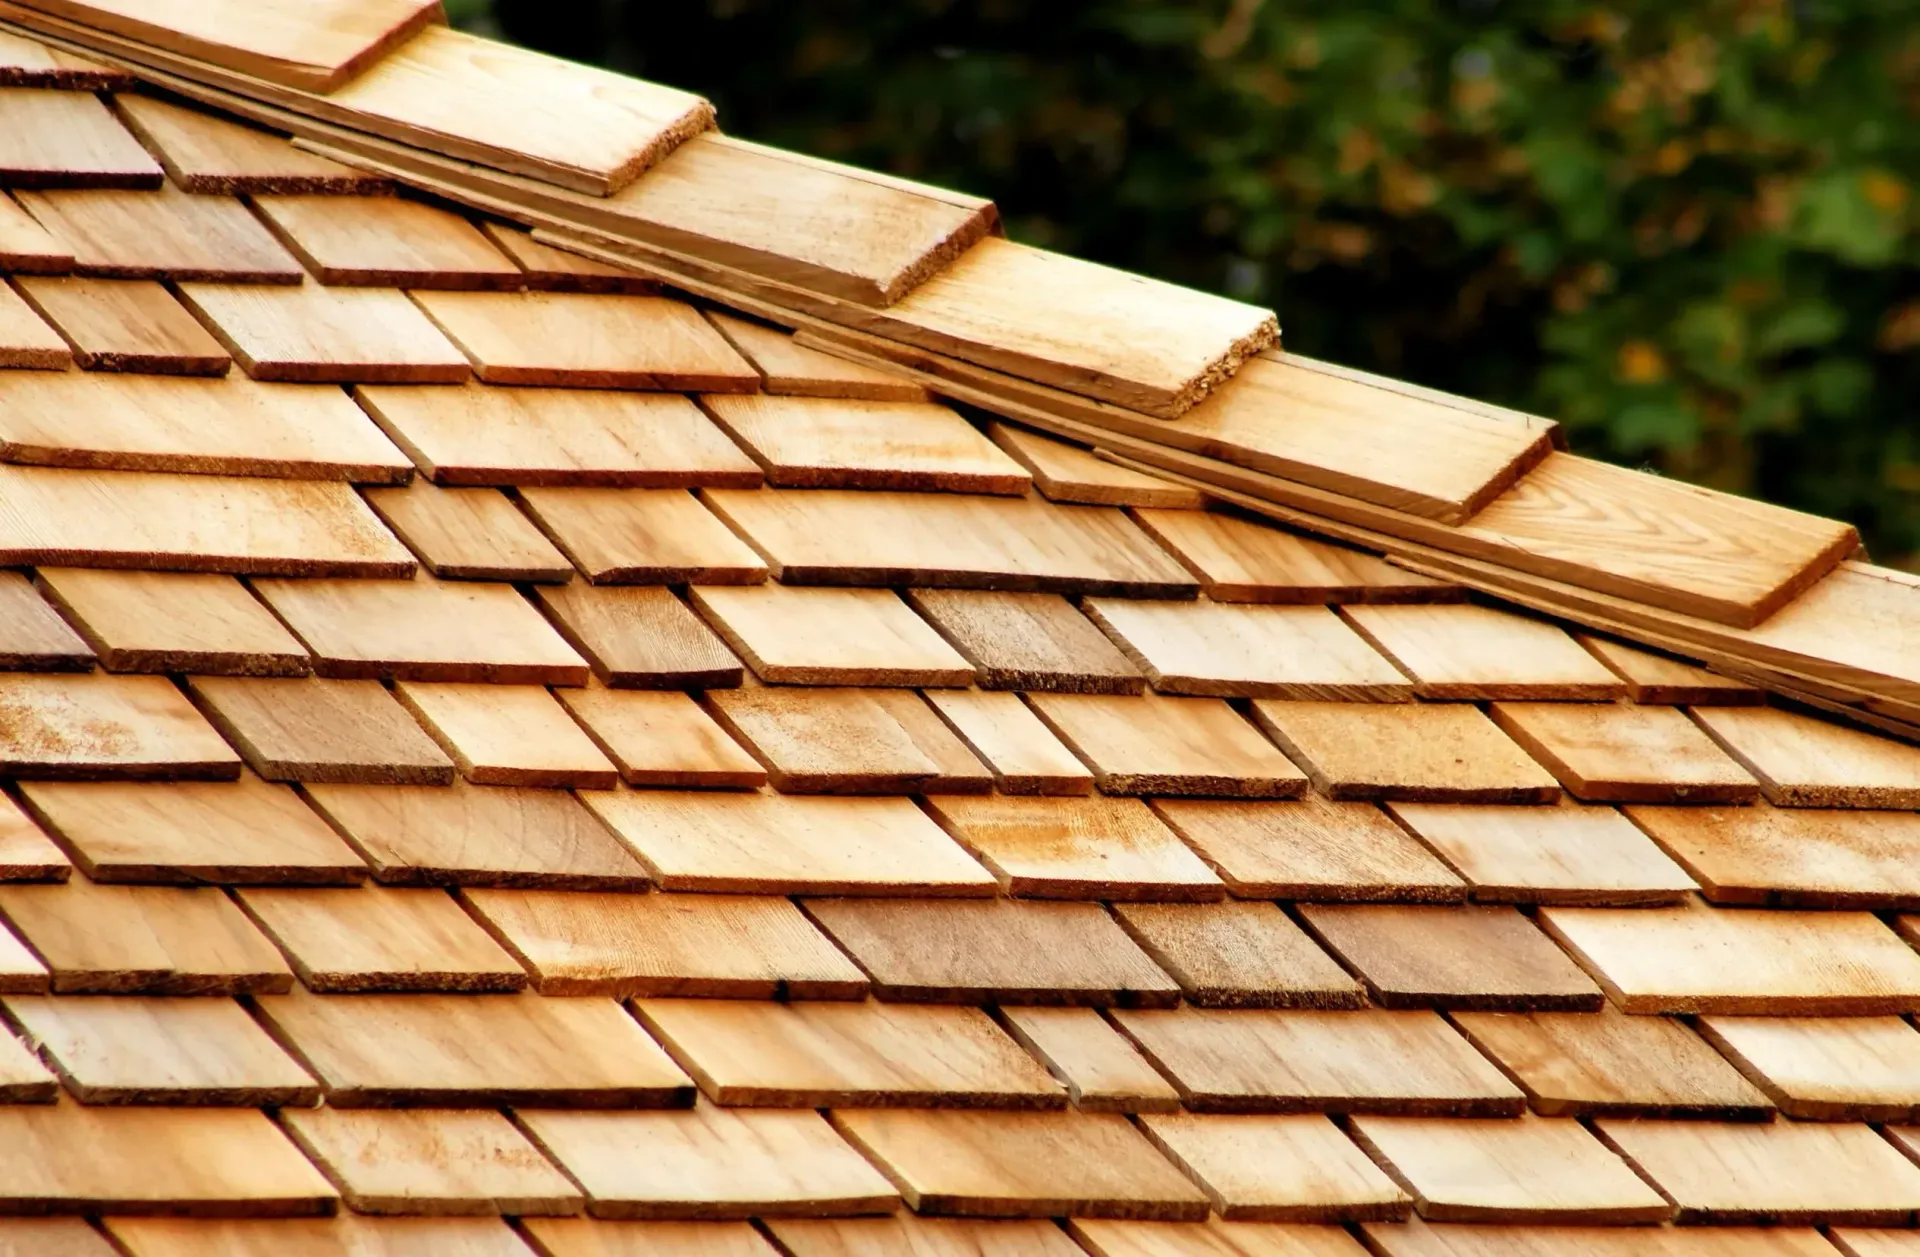
Specialized Shingles
A small subset of asphalt shingles is rated for shallower roofs, but must follow the manufacturer’s guidelines. You may need extra underlayment layers or a continuous membrane if the pitch dips below certain thresholds.
Every one of these has its niche. Some homeowners pick membranes for their simplicity. Others want a more classic look with shingles (carefully installed). The key is understanding both the climate—rain, occasional freezing, random hail—and the roof’s structural nuances.
How Do Building Codes Affect Low-Slope Roofs in BC?
Few things stir up confusion like building codes, but they’re really just guardrails to keep your home protected. In British Columbia, there’s no free pass to install any material on any roof shape. Codes specify minimum slopes for certain products, acceptable underlayment, and even how ventilation should be managed. Inspectors in Vancouver or Delta might ask for product specs or examine how you’ve sealed edges and transitions.
Codes matter because they integrate with manufacturer warranties. If the rulebook says a specific membrane is allowed only down to a 2:12 pitch, you can’t go below that and still expect a valid warranty. Honestly, that’s a good thing. You want your materials to be used in the exact conditions they were designed and tested for. Otherwise, you’re gambling with leaks in a climate that’s known to be merciless when the rainy season settles in.
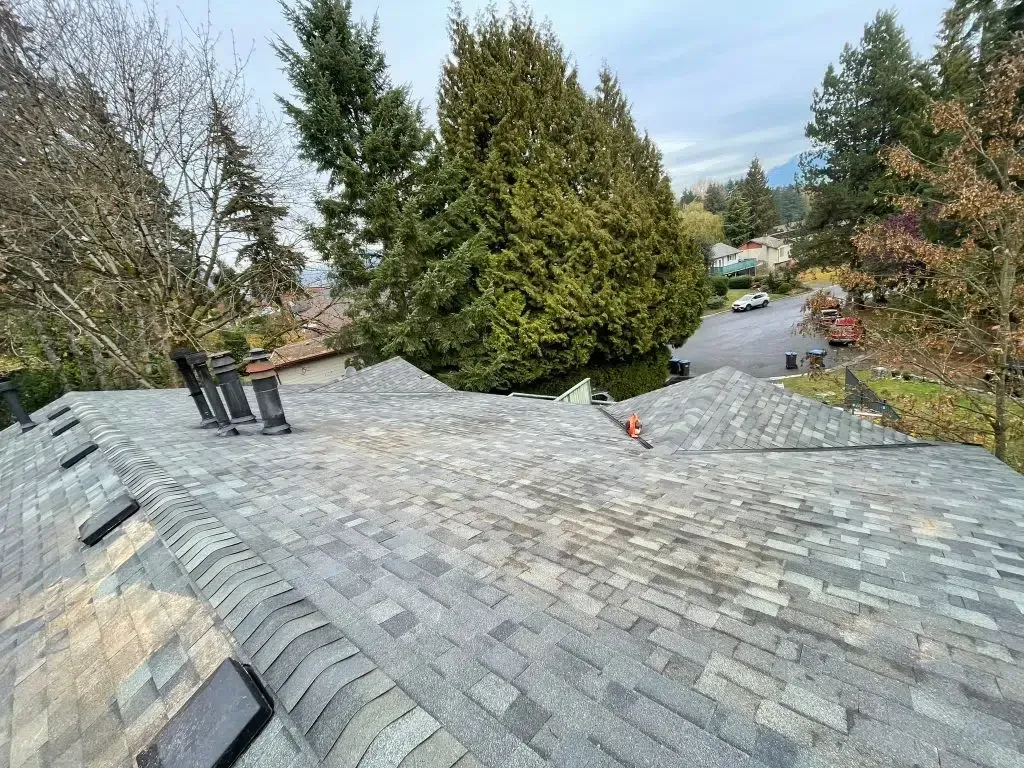
Can You Use Shingles on Low-Slope Roofs?
Yes—and no. It’s possible to use certain asphalt-based shingles on gentler roofs, but you need to be precise. If you’re determined to keep the classic “layered” aesthetic, you need to confirm the product is approved for the slope you have, then reinforce the underlayment. Sometimes that means installing a continuous self-adhering membrane under the shingle layer. If the manufacturer requires an ice-and-water shield from eave to ridge, you do it—no shortcuts.
You might find specialized lines marketed as low slope roof shingles(that’s our single use of that phrase). Some feature enhanced sealing strips and heavier adhesives, but even then, it pays to follow the instructions to the letter. One oversight in nailing or overlap can lead to dreaded damp patches under the plywood. Don’t assume standard methods that work on a 6:12 pitch will carry over to a 3:12 roof. Double-check, triple-check, and if anything seems unclear, ask a pro.
What Are the Pros and Cons of Low-Slope Roofing?
Let’s weigh the benefits and the drawbacks. It might help you decide whether a low-slope style truly fits your home and your lifestyle.
Pros
Extra Usable Space:
Some people set up small gardens, add solar panels, or even create a small rooftop hangout area—if the structure is engineered to handle it.
Sleek Aesthetics:
Modern designs often showcase that angular, minimalistic look, which can be quite striking when done right.
Easier to Walk On:
Access for inspections or maintenance is simpler, and that might cut down on labor costs for repairs.
Potentially Lower Material Volume:
A drastically pitched roof might have more surface area, meaning more shingles or membrane required.
Cons
Water Retention:
Rain in the Lower Mainland can be sudden and heavy. Without ample slope, water might pool up or drain too slowly.
Installation Must Be Perfect:
On a roof like this, subpar flashing or seam work can lead to infiltration faster than you’d think.
Frequent Maintenance:
Debris, moss, and algae don’t just slide off. You may need to do routine cleanups, especially if you’re surrounded by big leafy trees.
Warranty Limitations:
Many products clearly state you can’t go below a certain pitch, or if you do, you’ll need extra steps that can raise costs.
How Do You Ensure Proper Installation on a Low-Slope Roof?
At its core, success comes down to thorough prep, meticulous detail, and the right materials. When installing a new roof or updating an older one, consider these steps:
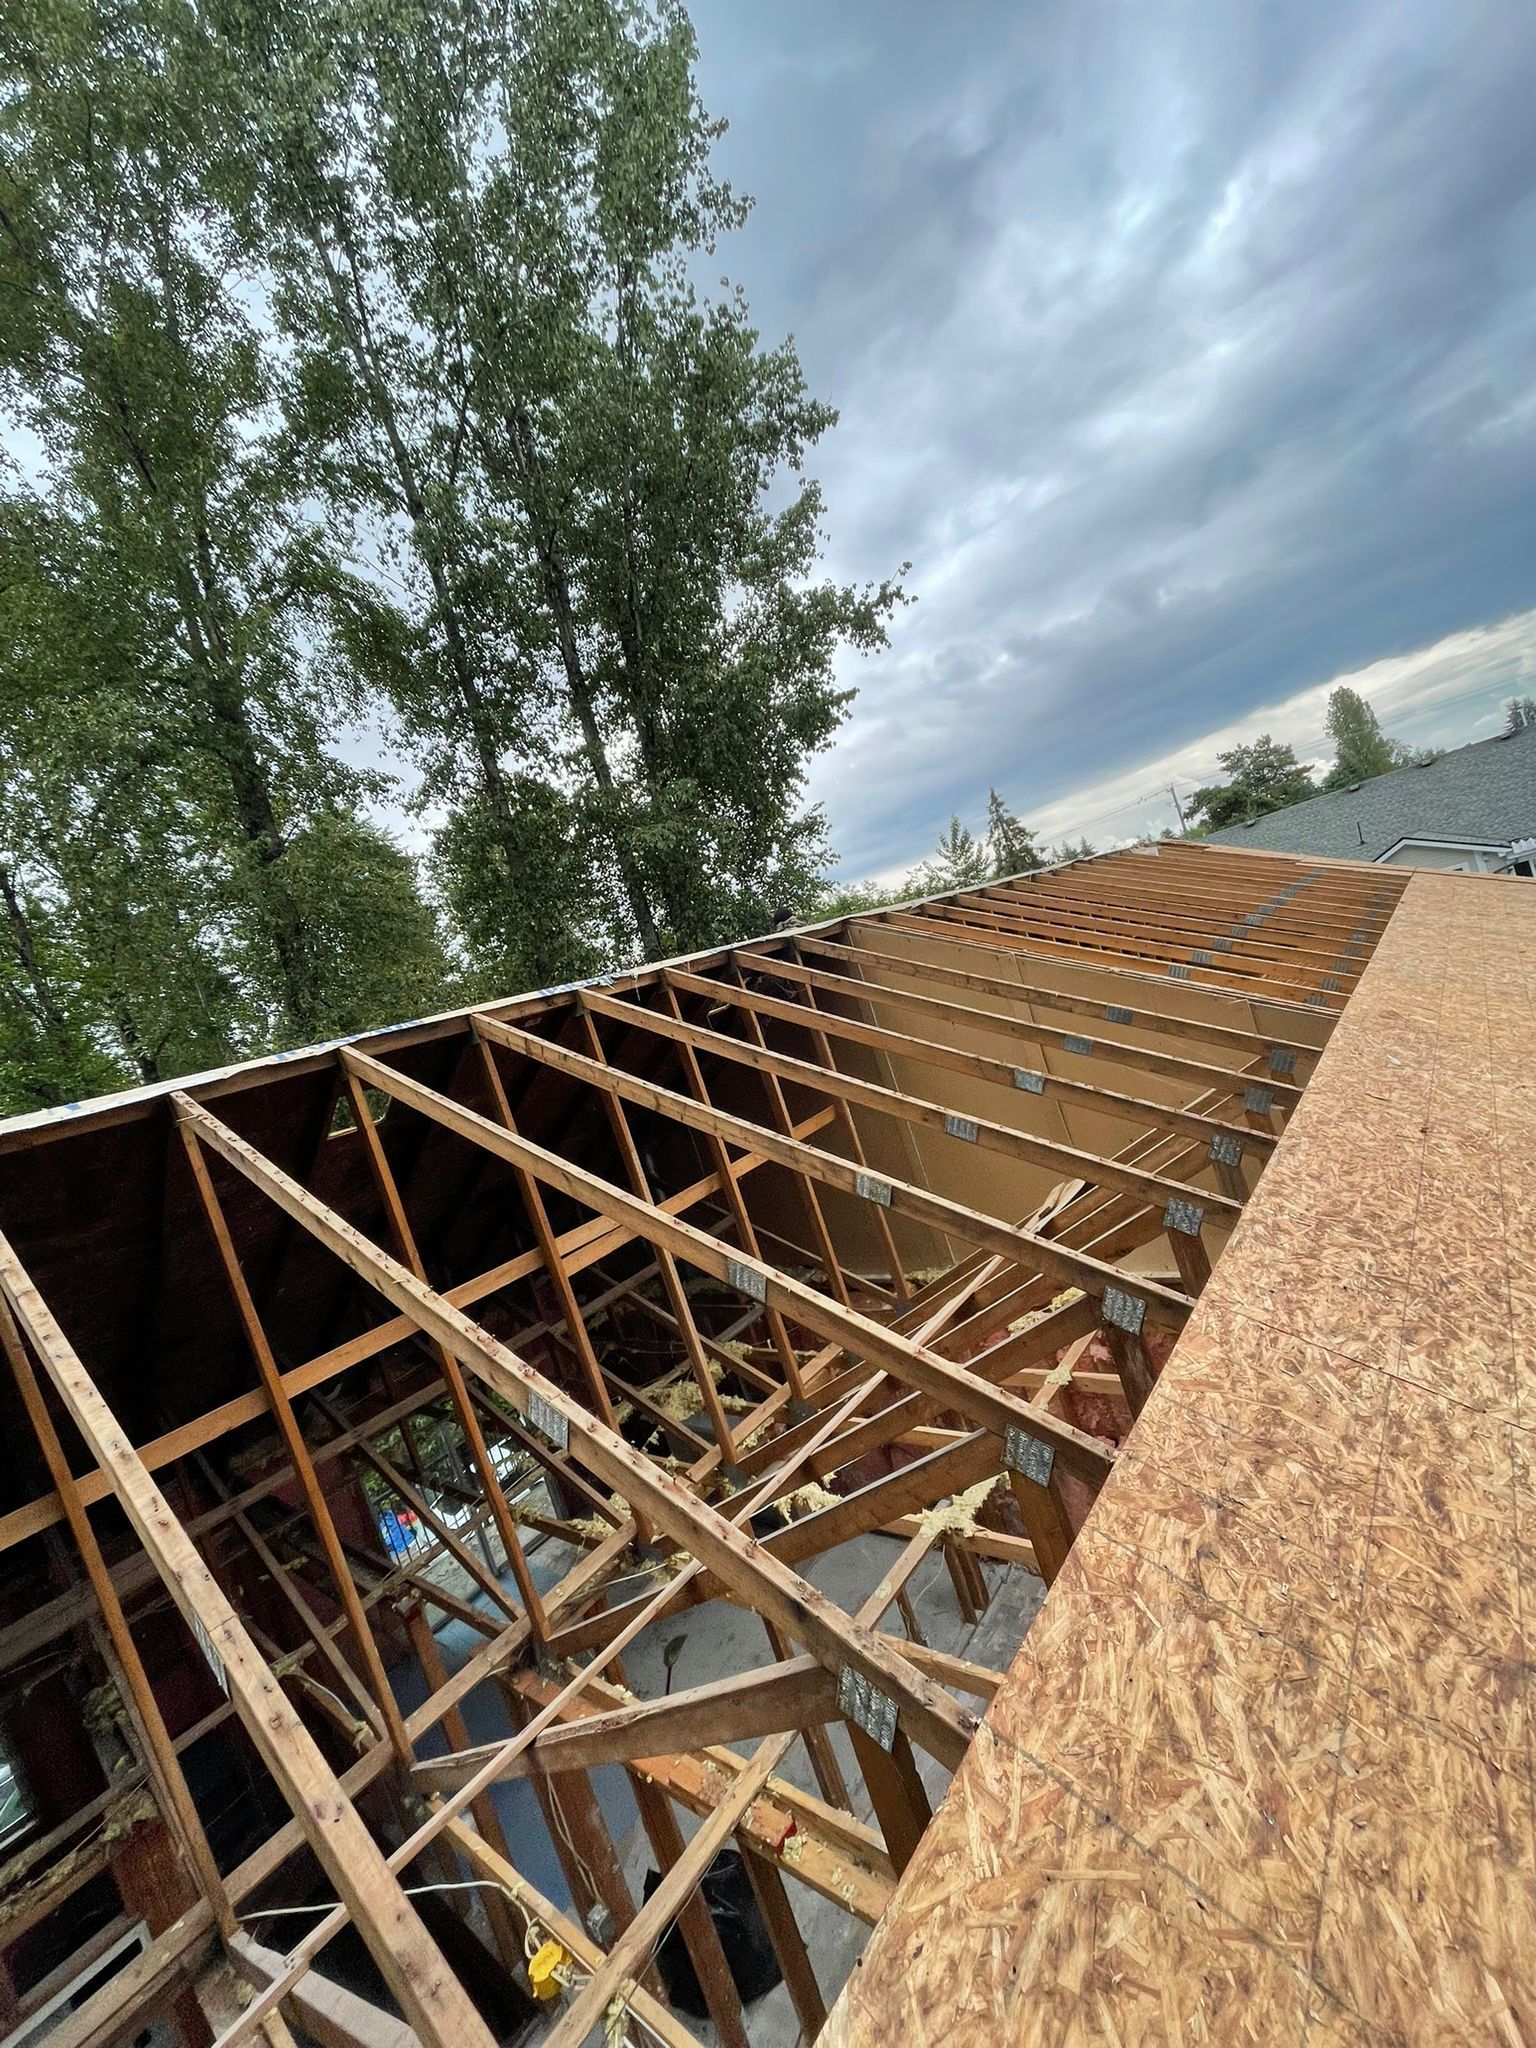
Substrate Inspection
Check every inch of the deck. If you see signs of rot or even minor sagging, fix it before you lay down anything new. A spongy deck is a recipe for trouble down the line.
Full Membrane Coverage
In places like Metro Vancouver where it can rain sideways, covering the entire surface with a self-adhering underlayment or robust waterproof membrane is often advisable. This “belt-and-suspenders” approach might seem excessive, but it’s far better than discovering leaks in the heart of winter.
Flashing Expertise
Anywhere the roof meets a chimney, skylight, or vent must be handled carefully. On a low slope, water doesn’t always roll away instantly, so good flashing is non-negotiable.
Proper Sealing and Overlaps
If using roll roofing or single-ply membranes, pay close attention to every seam. Some use adhesive, others require heat-welding. Do it exactly as the manufacturer recommends.
Ventilation and Insulation
Keeping moisture levels in check inside the attic space can drastically extend the life of the roof. Without enough airflow, condensation can become a silent enemy, causing mold or weakening deck boards from below.
When each aspect is handled diligently, even heavy Vancouver rains won’t faze that shallow pitch. Water finds the tiniest gaps, so don’t give it a chance.
How Does Maintenance Differ on a Low-Slope Roof?
Maintenance is your best friend. And yes, that means you might be out there after a few hefty downpours, especially if you’ve noticed pooling water. Regular upkeep will save you both time and money. No joke.
Clearing Debris
Leaves, branches, pine needles—all the good stuff from those grand West Coast trees—tend to settle on a gently pitched roof. Sweep or blow them off before they gather into soggy piles that trap moisture.
Checking Drains and Downspouts
If water can’t escape properly, it’s going to hang out on top of your house. Ensure downspouts aren’t clogged, and confirm gutters have the correct slope themselves.
Inspecting Flashing and Seams
Once or twice a year, especially before winter rains, scan the roof for cracks, loose edges, or signs of worn sealants. A quick repair can prevent more serious water intrusion.
Moss and Algae Control
Our climate fosters a green environment in more ways than one. Sometimes that greenery tries to set up shop on the roof. A gentle cleaning can keep microbial growth at bay.
Early Detection
Keep an eye out for ceiling discoloration or a musty smell in the attic, which might suggest a leak. It’s far cheaper to fix a leak when it starts than after it’s spread.
Yes, it can feel like a lot of upkeep. Yet, each step is relatively small, and they collectively extend the roof’s life, often by years. Think of it as routine care—like changing the oil in your car—to avoid being stranded in the pouring rain with a major problem.
How Can You Extend the Lifespan of a Low-Slope Roof in Vancouver’s Climate?
Prolonged rainfall, temperature shifts, occasional snow or hail—your roof deals with a lot. Taking a proactive stance is the best way to keep it going strong:
Quality Materials from the Start
It might be tempting to buy cheaper products, but saving a few bucks on lower-end underlayment could cost you dearly if it fails prematurely. Spend wisely once, and you’ll likely delay those big repair bills.
Stay Within the Recommended Pitch Range
If the product says “minimum slope 2:12,” don’t push your luck at 1:12. The roof might still install, but you could forfeit any manufacturer guarantee.
Routine Inspections
Rather than wait until a dripping ceiling demands attention, plan for periodic checks—twice a year can suffice. If a big storm has just passed, it doesn’t hurt to do a quick pass sooner.
Prompt Repairs
A tiny tear or crack can escalate rapidly. Sealing it quickly prevents water from seeping into layers beneath, where it can hide and cause slow, hidden damage.
Address Ventilation Issues
Warm, moist air rising into an inadequately vented attic can condense on cool surfaces. Over time, that extra moisture warps wooden framing or leads to fungus. Provide enough vents, keep them clear, and ensure your attic insulation isn’t blocking airflow.
What Should You Know Before Starting Your Low-Slope Roofing Project?
Preparation can be the difference between a smooth process and a never-ending headache:
Know Your Roof’s Measurements
Calculate the exact pitch. Don’t rely on guesswork. If you’re unsure, a quick check with a level and tape measure can clarify things.
Talk to Professionals
Even if you plan to do some work yourself, consult someone who’s tackled multiple low-slope projects in the Lower Mainland. Local knowledge about typical rainfall patterns and building codes is invaluable.
Budget for Maintenance
A strong, low-slope roof in Vancouver isn’t just a one-time expense. Plan for regular checkups. Keep a small emergency fund in case you need an unexpected repair after a particularly nasty storm.
Discuss Warranties and Permits
If a product demands a certain underlayment or specific installation steps, follow them to the letter. Skipping them risks voiding your coverage. Also make sure to file any necessary permits—avoiding them can be costly if an inspector drops by unannounced.
Consider Aesthetics vs. Function
Shingles can look more traditional, membranes lean modern, and BUR has that classic commercial vibe. While looks matter, never sacrifice function just to match a style trend.
Final Thoughts
Living in a region known for ample rainfall means you can’t be casual about a low-slope roof. Water that would cascade right off a steep pitch may linger here, and that lingering can reveal even the smallest weaknesses. Yet, with the proper materials—be they membranes, modified bitumen, or specially rated shingles—and precise application, you can craft a roof that stands resilient against everything the Pacific Northwest dishes out.
By embracing a comprehensive approach—double-checking installation, staying on top of maintenance, and respecting manufacturer recommendations—low-slope designs can flourish. You get modern lines, potential for creative use of rooftop space, and a stable barrier against our local downpours. It just requires a little extra vigilance. But that vigilance pays off when a well-installed roof keeps your home cozy and dry year after year, rain or shine, drizzle or deluge. Ultimately, the effort is worth the peace of mind that comes from knowing your roof can handle the next wave of clouds rolling in.

Our Roofing Blog
Have more questions about roofing?
Check out our FAQs or give us a call today to speak to an expert roofer in Vancouver Lower Mainland, BC. We're here to help our neighbours make educated decisions about their roof. For our team, we value helping clients save money while making their roofs last.