Call Today
12233 92 Avenue, Surrey, British Columbia V3V 7R9, Canada
Reach Out
CALL US TODAY · 604-358-3436
How do you handle roofing projects during Vancouver’s extended rainy season?
Roofing in Vancouver’s rainy season isn’t just a job—it’s an art, a battle against the drizzle, and a dance with the forecast, all wrapped into one.
How Do You Handle Roofing Projects During Vancouver’s Extended Rainy Season?
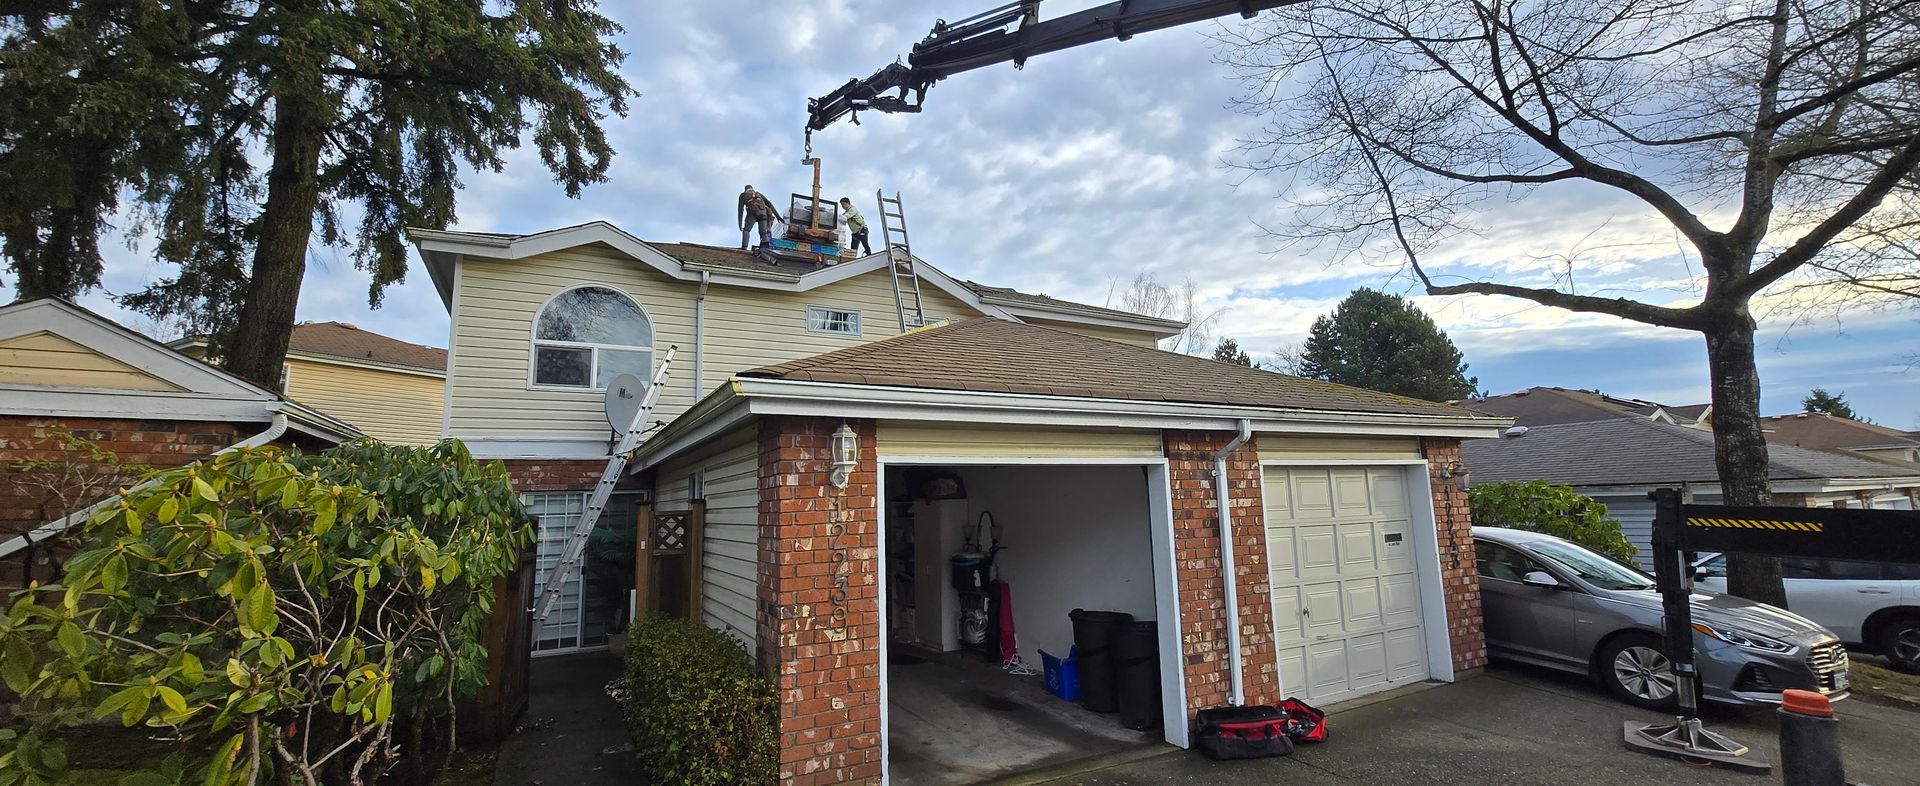
Vancouver’s extended rainy season can make any homeowner or business owner wonder, “How on earth do you tackle a roofing project when rain seems to be the city’s best friend?” Let me reassure you: it’s absolutely possible! I’m Harman from Paragon Roofing BC, and I’ve been working on roofs throughout Metro Vancouver for years, navigating everything from light drizzles to heavy downpours. In a nutshell, we approach these projects with meticulous planning, careful timing, and the right expertise so your roofs end up strong, durable, and watertight—no matter how cloudy (or downright soggy) the forecast might look.
Below, you’ll find a detailed look at how we handle roofing work during those long, damp months here in the Lower Mainland. Whether you live in Surrey, Delta, Burnaby, or Vancouver itself, this comprehensive guide is intended to help you understand the roofing process, avoid pitfalls, and gain confidence about taking on a roof replacement or repair when the rainy skies come rolling in.
Table of Contents
- Understanding Vancouver’s Rainy Challenges
- Why Timing Matters More Than Ever
- What Preparations Are Essential Before Starting a Project?
- Choosing the Right Roofing Materials in a Wet Climate
- How Do We Keep the Work Area Dry and Protected?
- What If Rain Hits Mid-Project?
- Importance of Roof Inspections and Moisture Checks
- Do We Use Special Installation Techniques in Wet Weather?
- Safety Considerations: Staying Secure in the Rain
- Overcoming Scheduling Hurdles in the Fall and Winter Months
- Dealing with Unpredictable Weather Changes
- Inspecting and Sealing After the Rain
- Common Mistakes to Avoid in Rainy Roofing Projects
- Local Vancouver Insights and Slight Humor from the Field
- Key Takeaways for a Successful Roofing Project in the Rainy Season
Understanding Vancouver’s Rainy Challenges
I’m guessing if you’ve lived in Metro Vancouver for any length of time, you already know how persistent our rain can be—especially from fall to early spring. But it’s not just about having an umbrella at the ready. For roofing, rain means you’re dealing with:
- Constant Moisture: Surfaces never seem fully dry, which can interfere with installation and adhesives.
- Temperature Swings: Vancouver’s temperature can hover on that borderline, adding to the challenge of ensuring materials are laid correctly.
- Frequent Storm Patterns: Sudden gusts of wind, sideways rain, or short bursts of heavy downpour can show up unexpectedly.
You might be thinking, “This doesn’t exactly sound like prime roofing weather.” And you’d be partially right—dry months are usually easier—but life doesn’t always wait. Roof problems don’t conveniently pause until summer. And that’s why we, as roofers, develop strategies specific to our unique climate.
Why Timing Matters More Than Ever
“Can’t you just roof all year?”
In a perfect world, sure. But in reality, because Vancouver can see rainfall even in months typically considered ‘dry’, timing is crucial. Here’s why:
- Dry Intervals: Even in winter, we watch for those small windows of relatively dry days to jump on critical tasks like applying underlayment or installing shingles.
- Temperature Sensitivity: Certain roofing materials (like specific adhesives or sealants) require particular temperature ranges to cure properly.
- Weather Forecasting: We rely heavily on updated weather apps and Environment Canada forecasts. Consistent checks help us plan each day around approaching storms.
Time is gold when your roof is open to the elements. Being efficient without compromising quality is our mantra. It’s a balancing act—waiting too long could invite more moisture, but rushing might lead to errors.
What Preparations Are Essential Before Starting a Project?
I’m a firm believer that planning is half the victory in rainy Vancouver. You wouldn’t build a house without a blueprint, right? So, for roofing in the rain, a thorough prep routine is mandatory.
- Initial Inspection: We always check the existing roof condition, looking for soft spots, moldy patches, or underlying structural issues.
- Material Readiness: Having the necessary shingles, underlayments, and fasteners on-site (in a dry, protected area) saves time.
- Protective Equipment & Tarps: We keep these on hand. If the rain decides to show up unannounced, we can cover exposed areas in a hurry.
- Project Flow Discussion: We also talk to you about how each stage might unfold, so everyone knows what to expect when the forecast shifts.
In my experience, a well-prepared team can pivot easily. That might mean adjusting daily start times or focusing on sections of the roof we can complete quickly between showers.
Choosing the Right Roofing Materials in a Wet Climate
Is there a “best” roofing material for rainy weather?
You’d think so, considering the near-constant drizzle. But the answer is more nuanced. Here’s the short version:
- Asphalt Shingles: A popular pick for Metro Vancouver, especially architectural shingles, which offer better wind resistance. They handle moisture well, but we need a sufficiently dry surface for proper installation.
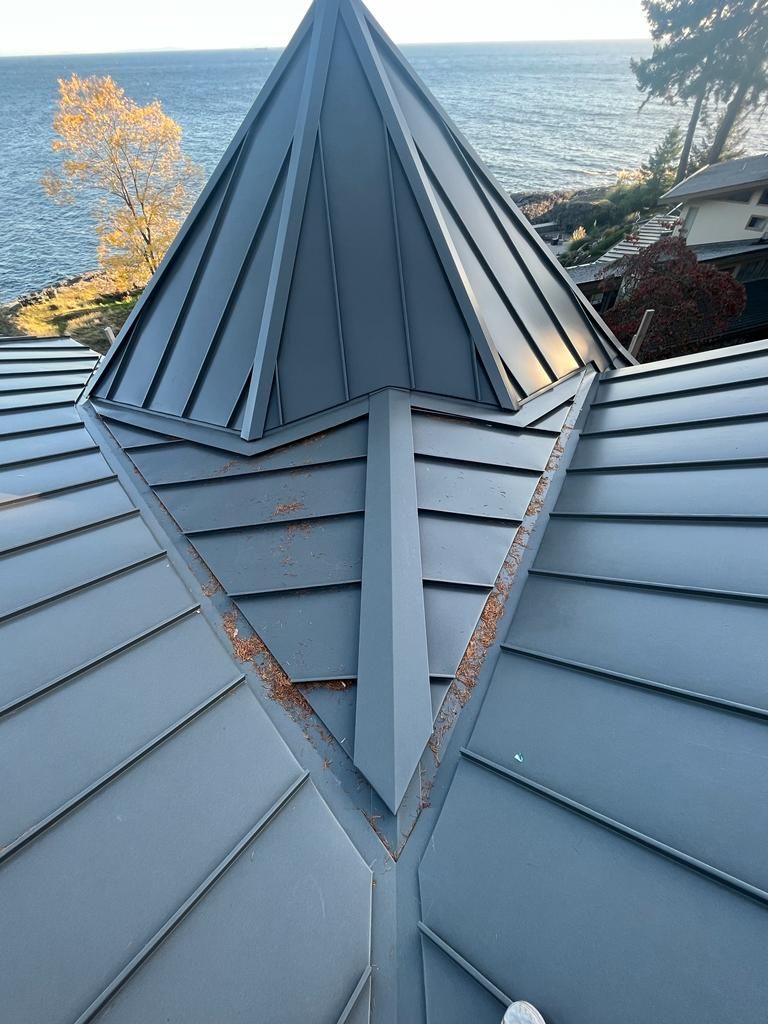
- Metal Roofing: Metal panels are highly durable and shed water quickly. However, installing them in the rain can be tricky if you’re not careful about preventing slip hazards and water infiltration at seams.
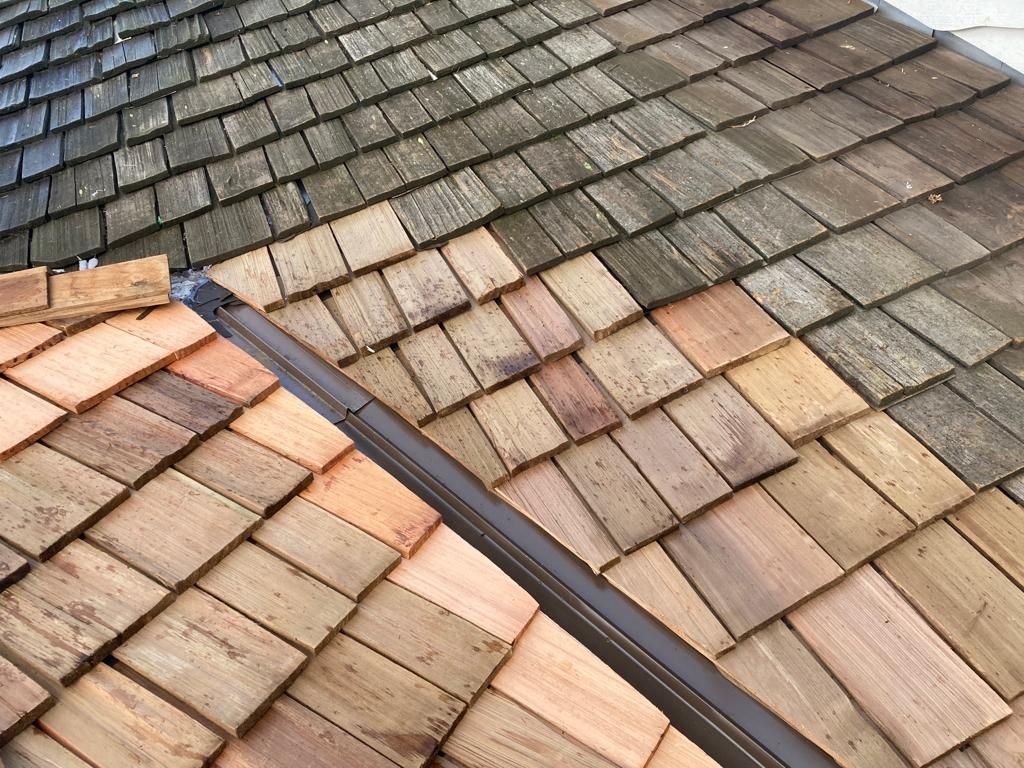
- Cedar Shakes: Traditional and beautiful, cedar can handle moisture but must be installed correctly to avoid mold or decay.
- Synthetic/Composite Shingles: These often come with advanced water-resistant properties, making them an excellent choice in wet climates.
Ultimately, the “best” material is the one that aligns with your budget, home design, and the overall climate. And yes, Vancouver’s climate is definitely a factor we weigh in.
How Do We Keep the Work Area Dry and Protected?
Let me tell you, there’s nothing more unsettling than climbing onto a roof and seeing water dripping down your installation site. For that reason, controlling water intrusion is top priority:
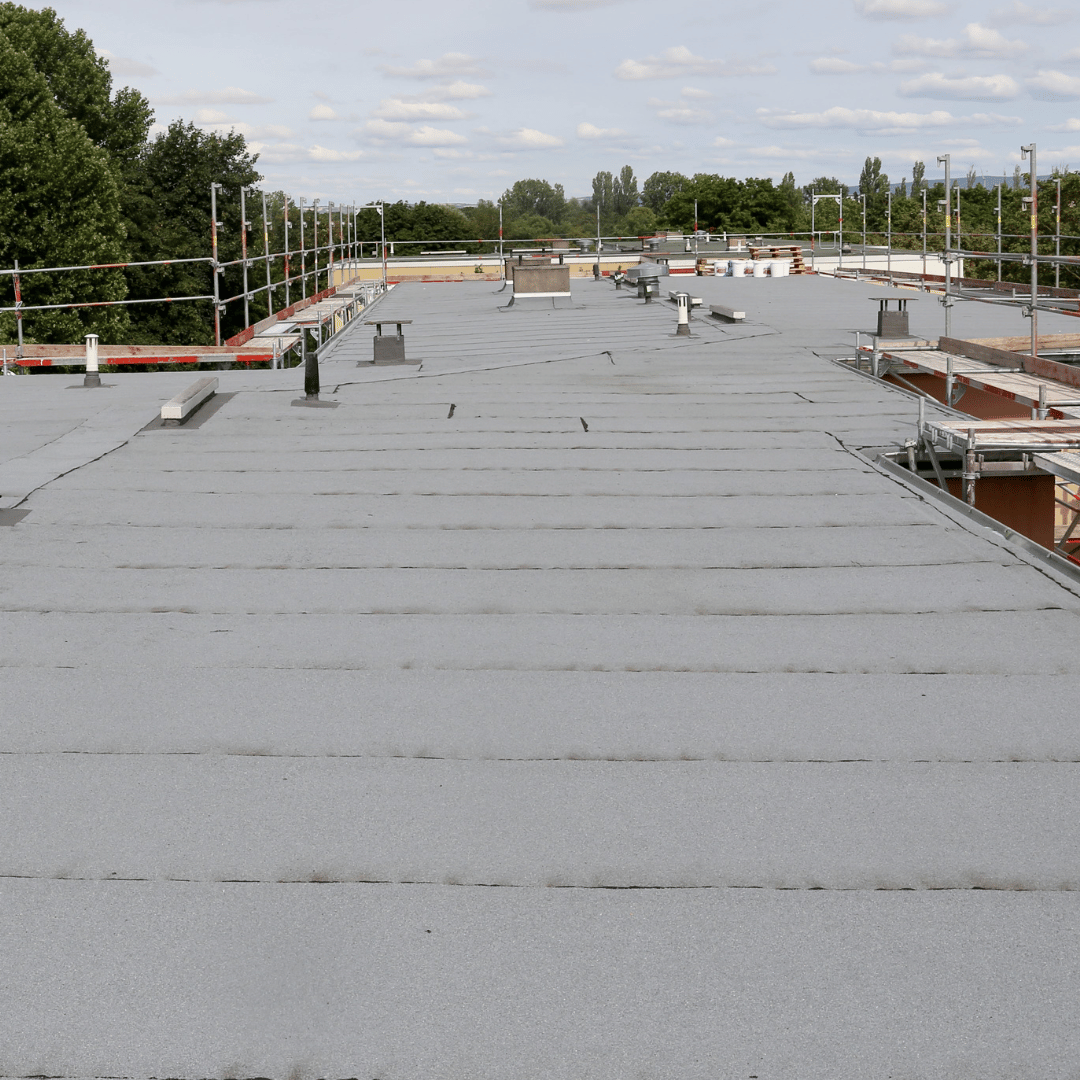
- Daily Tarp Setup: We typically tarp off any exposed areas at the end of each workday, especially the roof deck if we’ve done a partial tear-off.
- Creating Work Zones: Sectioning off smaller areas of the roof allows us to complete and seal them before moving on.
- Drainage Paths: We ensure gutters and roof drains are clear, so water flows away quickly instead of pooling.
You might peek out your window and see tarps clipped down with some professional wizardry (and heavy-duty clamps). It might look like overkill, but preventing water from soaking the underlayment or the wood substrate below is critical.
What If Rain Hits Mid-Project?
It’s Vancouver—let’s be honest, it’s probably going to happen at least once. The sudden swoosh of a rain cloud rolling in can send everyone into action mode. Here’s our approach:
- Immediate Cover-Up: As soon as we sense rainfall, we get those tarps and protective materials in place. We never want an open roof sitting under a downpour.
- Quick Surface Drying: If the rain is light or passes quickly, we can sometimes dry the surface with towels or air blowers.
- Inspection Before Resuming: After the rain stops, we check for trapped moisture. If it’s there, we let it dry completely.
Yes, it can slow us down. But being thorough beats dealing with pesky roof leaks months later.
Importance of Roof Inspections and Moisture Checks
“Why is moisture such a big deal?”
Moisture control is critical. If you trap moisture under roofing materials, you could see:
- Mold Growth: Mold can form in hidden areas and gradually infiltrate your attic space.
- Wood Rot: The wooden deck of your roof can deteriorate, compromising structural stability.
- Shortened Lifespan: Roofing materials installed over a wet deck may not bond correctly, reducing overall longevity.
Hence, if there’s any hint of moisture, we dry it out. I like to use moisture meters to ensure surfaces are safe. This attention to detail can be the difference between a roof that lasts 25+ years and one that falters prematurely.
Do We Use Special Installation Techniques in Wet Weather?
Absolutely. While the fundamentals remain consistent, a few wet-weather adaptations are helpful:
- Nailing Patterns: On asphalt shingles, adjusting the nailing pattern can ensure a tighter seal on overlapping sections.
- Extra Sealants: Certain adhesives are cold-applied but might need slightly warmer conditions or a primer to stick effectively in moist weather.
- Starter Strips & Drip Edges: Paying close attention to roof edges is crucial—any gap at eaves or rakes invites water intrusion.
These subtle tweaks might seem small, but in a place like Vancouver, every added layer of protection helps.
Safety Considerations: Staying Secure in the Rain
If you’ve ever slipped on a wet sidewalk in downtown Vancouver, you know how treacherous water can make surfaces. Now imagine that scenario on a pitched rooftop:
- Harnesses & Guardrails: Standard safety gear becomes doubly important in wet conditions.
- Rubber-Soled Footwear: We often use specialized footwear with extra grip for damp surfaces.
- Monitoring Wind Gusts: Combined with rain, wind can create an unsafe environment quickly. We pause work if it’s too risky.
Sure, it might slow the project slightly if we have to re-check harness lines or relocate anchor points when the wind changes direction. But safety is paramount—nobody wants a paramedic showing up for a roofer who took a tumble.
Overcoming Scheduling Hurdles in the Fall and Winter Months
How do we keep projects on track when the weather is so unpredictable?
Great question. In Vancouver, especially in the fall and winter, you can wake up to sunshine and be drenched by lunchtime. Our methods:
- Flexible Start Times: If a morning window looks clear, we might start early. If an afternoon looks dry, we shift our schedule accordingly.
- Backup Days: We build buffer days into our timeline for storms that stall progress.
- Clear Communication: We keep you in the loop about possible delays—no point having you around if rain is relentless.
It’s an ebb and flow. The advantage is that when a good stretch of weather arrives, we jump on it. Vancouver’s forecast can change fast, so being nimble is key.
Dealing with Unpredictable Weather Changes
Let’s be frank, living in the Lower Mainland can turn anyone into an amateur meteorologist. We’ve got microclimates in different neighborhoods—what’s happening in Surrey might be different in Delta, just a few kilometers away. Our plan:
- Hourly Forecast Checks: We often consult multiple weather apps because each might give a slightly different picture.
- Site-Specific Observations: Sometimes I’ll ask the homeowner about the typical weather behavior in their area.
- Protective Setup in Advance: Even if there’s only a 30% chance of rain, we might start the day by staging tarps or covering certain areas.
This might sound extreme, but it’s how we stay ahead. Predicting the weather might be a fool’s errand, but we do our best to plan around it.
Inspecting and Sealing After the Rain
“Aren’t we done once the last nail is in?”
Not quite. Post-installation checks are crucial in the rainy season:
- Flashings & Edges: Common leak areas. We confirm everything is snug and sealed.
- Vent Installations: The base of roof vents can be a weak spot if the sealant didn’t cure properly.
- Gutter Functionality: We make sure gutters are aligned and free of debris to channel water off the roof effectively.
It’s like test-driving a car after replacing a major part. We want to confirm everything is working as it should. If there’s any sign of an issue, we address it right away.
Common Mistakes to Avoid in Rainy Roofing Projects
We’ve certainly learned what works and what doesn’t. Here are pitfalls to avoid—whether you do it yourself (please be cautious) or hire a professional:
- Skipping the Underlayment: Don’t rely on shingles alone to keep water out.
- Rushing Installation: Trying to beat the rain might result in poor nailing, misalignment, or overlooked flashing.
- Failing to Check for Moisture: Installing materials over damp surfaces leads to mold, wood rot, and compromised integrity.
- Not Tarping Overnight: Even if it looks clear, Vancouver’s drizzle can sneak in after midnight.
Mistakes can cost you big in future repairs. Patience and a watchful eye are your best allies.
Local Vancouver Insights and Slight Humor from the Field
Ever hopped in your car in Richmond to drive to Vancouver, only to be greeted by sunshine one minute and pouring rain the next? Yeah, us too. Sometimes we joke that roofing in the Lower Mainland requires not just skill, but a bit of clairvoyance.
I recall a time we started a project in Delta, under gorgeous skies, only to see a dark cloud roll in—directly over that single block. It poured on just that house , while three blocks over, folks were still enjoying the sunshine. Go figure, right? Situations like these keep us on our toes and remind us that adaptability is the name of the game.
I like to think Vancouver’s mood swings in the weather department keep us humble. It’s almost a local rite of passage: if you can roof here, you can roof anywhere.
Key Takeaways for a Successful Roofing Project in the Rainy Season
Before you head off into the typically grey horizon of Vancouver’s winter months, here’s a quick recap to keep in mind:
- Proper Planning is Invaluable: Schedule carefully and prep materials ahead of time.
- Use Quality Materials Suited for Moisture: Don’t skip the underlayment and consider moisture-resistant shingles or panels.
- Monitor the Forecast Religiously: Vancouver weather is unpredictable—be ready for sudden changes.
- Safety Comes First: A wet roof can be slippery, so harnesses, guardrails, and non-slip footwear are essential.
- Check for Moisture Before Installation: Installing on damp surfaces welcomes mold and rot.
- Regular Post-Installation Inspections: A final review catches small issues before they become big ones.
- Stay Flexible: Embrace buffer days and adapt to shifting weather patterns.
Following these guidelines will help you achieve a solid, durable roof that can handle Vancouver’s extended rainy months with confidence.
I hope this in-depth guide helps you see that roofing in Vancouver’s rainy season, while challenging, is far from impossible. From finding those best weather windows to using the right materials and techniques, the key is adaptability. Even with the drizzle looming overhead, you can absolutely take on a roofing project—just be sure your roofing team has a solid plan, a thorough approach, and a big box of tarps on hand!
No matter what, don’t let the rain deter you from giving your home the care it deserves. If I’ve learned anything during my time roofing throughout Vancouver, Surrey, and Delta, it’s that preparation, patience, and a willingness to laugh off the occasional weather curveball can go a long way toward a successful project.
Thanks for reading, and remember: if you ever feel a raindrop sneaking through your attic, it’s probably time to have your roof checked—no matter what the weather’s doing outside. Stay dry, stay safe, and keep your roof in tip-top shape!
Contact Us
Our Roofing Blog
Have more questions about roofing?
Check out our FAQs or give us a call today to speak to an expert roofer in Vancouver Lower Mainland, BC. We're here to help our neighbours make educated decisions about their roof. For our team, we value helping clients save money while making their roofs last.
